I never would have thought just a few days after discovering Tick, I would run into another web 2.0 for tracking time & budgets. This time, I discovered Harvest, and I couldn’t help but jump on the opportunity to review it and compare the two similar services.
Harvest is a web 2.0 Internet application built by Iridesco focusing on tracking time logged for various tasks. Using a clean web based interface, administers and users can login to set tasks, and enter time spent on those tasks.
Sign up Process
Signing up was fairly simple, and allowed me to jump right into the app. You start off with a 30 day trial account, giving access to harvest along with the ability to have up to 10 projects and one user.. (Equivalent to their “Personal” account.)
Upon logging to the dashboard for the first time, you are brought to the reports tab with instructions on how to get started in harvest. This includes setting up basic functions, including creating your first project.
Creating & Managing Tasks & Projects
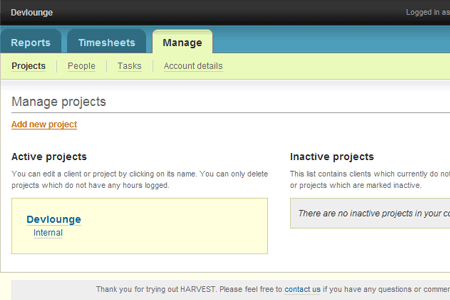
The first tab decided to visit was “Manage”. From here, I was brought to the Manage Projects section. By default, harvest had created a project named after the company name you entered when you registered. It also added a task to this, called internal.

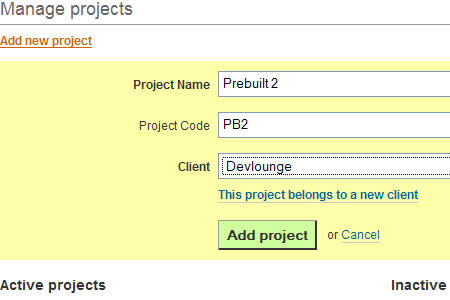
A click on the project name brought up options to add more details to the project, for example, name, address, etc. The manage tab also had three other sub-sections: People, Tasks, and Account details.

The people tab allows you to add users, including their contact information. You can add both employees and contractors, set their email, and timezone, and harvest will create an account for them and send them the login details.
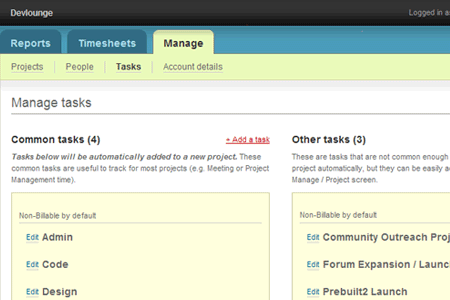
Finally, the task tabs allow you to create new company tasks, broken down into two categories: Common, and Other. Tasks added to common tasks are then added to every new project created in the future. When you add a task, you can also set whether it is billable by default or not.

Timesheets
Next I visited the Timesheets tab. Here, you can select a project and associated task, enter in the amount of time the task requires, and any additional notes you may want to enter. Once you have added time to your timesheet, An icon of a clock appears. You can start and stop the timer by clicking on the clock at anytime.

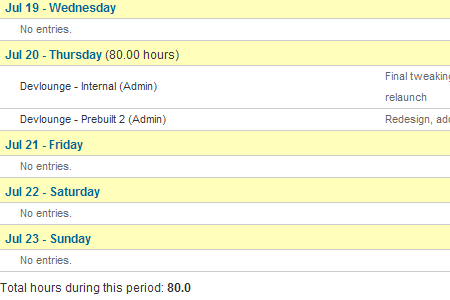
By default, the timer does not start until you click the clock for the first time, or leave the duration value blank. The page also allows you to submit your weekly hours for review and acceptance by the admin. As admin, you have the ability to see the timesheet for all your users. The timesheets tab also creates an archive, so you can go back and review your clocked hours.


