Despite the ubiquity of online video, they’re still not as portable as images, and what better way to get the best of both worlds than through animated GIFs?
You’ll need two programs: VirtualDub and Photoshop (or GIMP), which each cover the two halves of the process: extracting images from the video file, and turning those images into a frame-by-frame animation.
Create the image sequence using VirtualDub

- Open video file (you may need to install the appropriate codecs).
- Mark the start and end of the scene you plan to extract using Edit > Set Selection Start / Set Selection End or the last two buttons in the playback toolbar labeled Mark in / Mark out. Use Clear Selection if you want to start over.
- Before exporting, you may want to adjust the number of frames exported by going to Video > Frame Rate… Select Process every third frame (decimate by 3) or enter a custom number.
- Select File > Export > Image Sequence… and click OK.
- You might notice that you can also export the selection as an animated GIF under the same menu, but if you want better control over the size and appearance of your GIF, Image Sequence is the way to go.
Create the animation using Photoshop

- Open the Animation panel and make sure it’s set to Frame Animation.
- Select File > Scripts > Load Files Into Stack… and select all the exported images in the proper order. Make sure the images are in the correct order (the last file usually shows up on top, so send it to the bottom).
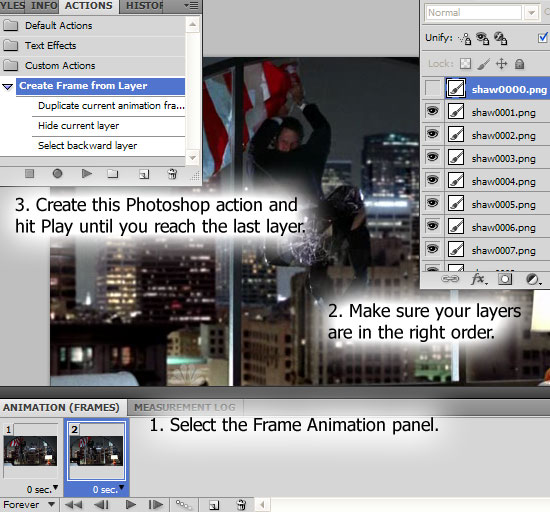
- Create a new frame for each layer by selecting the Duplicates selected frames icon or the New Frame item in the panel menu. Hide the current layer, then select the next one below it. Repeat this until you’ve made your way all the way to the last layer.
If you have a lot of frames, you can record a Photoshop action that goes:
- Duplicate current animation frame
- Hide current layer
- Select backward layer (this isn’t easy to record so, follow the instructions for creating that step on this page).
Now hit Play until you reach the last layer.
- Tweak the animation settings accordingly. You may want to set a short delay for each frame, and choose whether your GIF will loop once, thrice, or forever.
- Crop, resize, and do all your image effects.
- Select File > Save for Web and Devices… and select GIF. Tweak the color range, dithering, and other necessary settings.
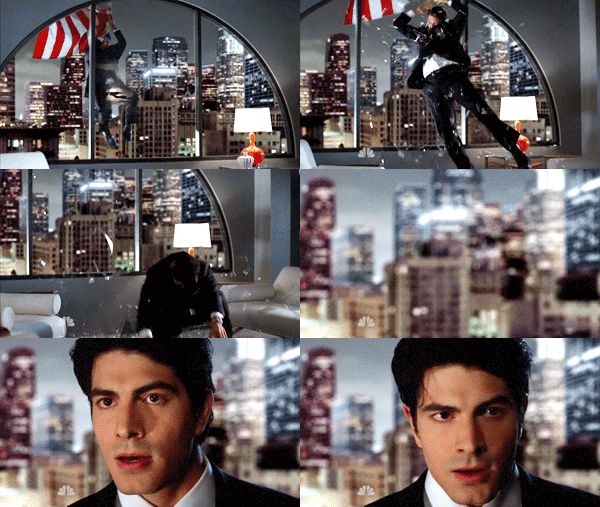
Result:

Photoshop alternative: GIMP
The GIMP handles image sequences a little easier as it has a built-in animation filter, but isn’t so flexible with image quality.
- Select File > Open as Layers… and select the images.
- Select Filters > Animation > Playback to preview your animation. You can also select Optimize to, well, optimize.
- Select File > Save As and make sure GIF image is selected under Select File Type.
- Choose Save As Animation in the next dialog the shows up then click on Export.
- In the Save as GIF dialog, check the following:
- Loop Forever
- Use delay entered above for all frames
- One frame per layer
- Use disposal entered for above for all frames
Set the Delay between frames where unspecified to something low like 10 milliseconds.
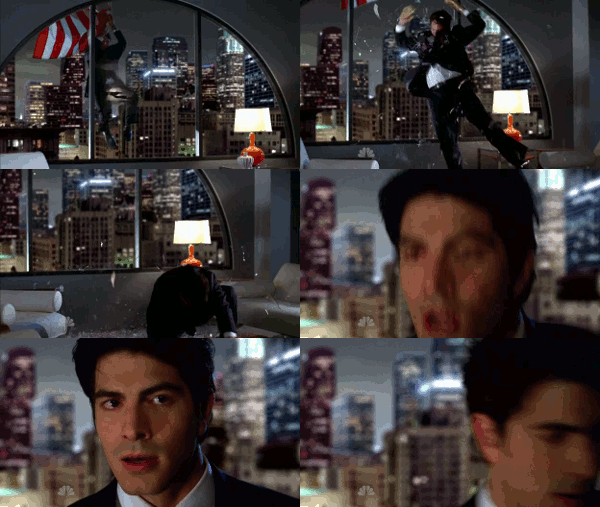
Result:

