Setting up an AWS instance to host your WordPress sites can mean better speed and more bandwidth to accommodate your publishing dreams. Self-hosting can be much more cost-effective, but you’ll be in charge of everything, including keeping AWS updated and providing AWS security for your site. Here’s a guide for spinning up WordPress on AWS using two services: Deploy4Me and BackupBuddy.
Getting Started
To begin, you’ll need to sign up for a free AWS account. Then, navigate to a service called Deploy4Me. A deployment for one instance costs $11, and it requires no Linux knowledge or complex steps. Pay for your credit on the pricing page and then follow these directions to set up WordPress on EC2.
1. Pick the Cloud. On the home page, choose “Amazon Web Services.” Under Pick the Software, choose WordPress. Then, click the blue Sign in and Deploy button that’s under and to the right of the Deploy4Me logo.
2. Choose Project. Name your project and click Continue. On the next screen, beneath Select Your Cloud Provider, choose Amazon EC2 and click Continue.
3. Select deployment options. In the popup window, click Single server deployment (All-in-one) and click Save. Click Continue on the Select Software screen.
4. Set up your server. Click on the server that appears on your screen. On the right side, you’ll see a window that lets you customize its properties. Type the server’s name in the box, choose your region, and then choose t2.micro or t2.small for your instance and Amazon Linux as your operating system, unless you prefer Ubuntu or Debian. Click Continue.
5. Accept the software license terms and conditions. After putting a check in the checkbox, click Continue.
6. Make your payment. Authorize Deploy4Me to use the credit for which you paid. Then, wait while Deploy4Me spins up your instance. Once it’s ready, navigate to Orders and click the blue Show button in the Passwords column. You’ll use your Deploy4Me password to get your server information, and copy and paste your server information to a secure location.
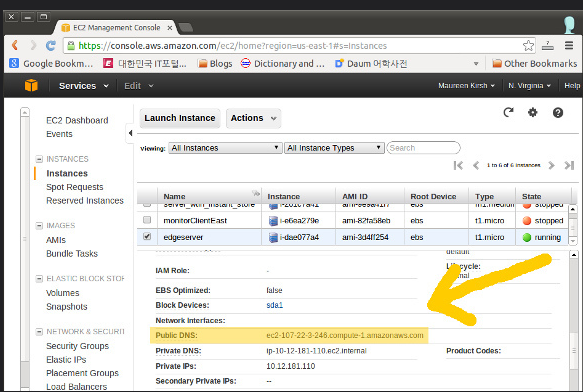
7. Visit your site. Copy the DNS information from the server information given by Deploy4Me and paste the URL into your browser. Choose your language and follow the WordPress setup instructions.
8. Login to AWS. On your dashboard, click RDS and then find your DB instance name. You’ll need this to migrate your WordPress site to AWS.
Moving Your Site to AWS
Download and install a plugin called BackupBuddy for your existing WordPress site. Find BackupBuddy on your dashboard and choose Backup from the popup menu. Follow the directions to backup your site so that you have a copy in case you experience problems setting it up on AWS.
1. Visit Settings. After backing up your site, click BackupBuddy in your dashboard and choose Settings. On the Settings page, create an ImportBuddy password.
2. Set up new server information. From the BackupBuddy popup menu, choose Remote Destinations. Click the +Add New button in the Amazon S3 section and enter the information about the new instance you created. Click Test Settings to ensure that BackupBuddy can connect with AWS. If everything works, click +Add Destination.
3. Go to Migrate, Restore in the popup menu. Choose the backup you just did of your site and click Migrate this backup. Select your destination, confirm the URL, and click Begin Migration.
4. Click Next through the first two steps of the BackupBuddy migration wizard. On the third step, enter the name of your database, which you copied from you RDS dashboard, in the field next to Database Name. Then, enter your username and password. Refer to your Deploy4Me information if needed. Click Test Database Settings. Then, if everything works well, click Next Step and then click Next Step again after Step 4.
5. Test your import. On Step 5, click the URL next to Import Complete for Site. This should open up your site in a new browser tab. Everything should look right in your browser, and all of your links should work. Return to the migration wizard and click Clean up & remove temporary files.
AWS Means You’re in Charge. That’s Right. You.
When you choose AWS self-hosting, you have your own server in the sky, and you have to maintain it. Make sure to backup frequently and download all updates for both AWS and WordPress.

