BBpress, the latest project from team WordPress finally reached its first public release a few days ago. BBpress was in development for ages, and I was never able to get early versions to work right alongside WordPress, so I scrapped any ideas of having an integrated forum for Devlounge.
But with the first public release, WordPress integration has been cleaned up, and now it’s our turn to help you customize bbpress like we’ve done for wordpress, in the Ultimate BBPress Guide.
Let’s Install
The installation process for bbpress is incredibly simple, as it is in installing WordPress. The entire process contains of 3 steps: edit config, upload, and run installer. Can’t get much simpler than that.
First, let’s upload the contents of “bbpress-0[1].72/bbpress…” into a folder on your web server. If you plan on integrating the user database with an existing wordpress database, make sure to upload the bbpress folder inside the location of your wordpress install, ie if wordpress is installed under “www.yourdomain.com/blog”, upload the bbpress folder and its contents to “…blog/bbpress/”.
Next, we need to edit the config file. Open either the local or remote copy of config-sample.php to do some editing. You’ll need to have created a mysql database, unless you plan on integrating with wordpress, in which case you’ll need to use the wordpress database information. (If you can’t seem to remember your WP database information, download your wp-config.php file from the server so you can grab the information required.)
Now let’s take a look at the config-sample.php file you just opened up:
[php]domain = ‘http://my-cool-forums.example.com’; // Example: ‘http://bbpress.example.com’
// There should be both a leading and trailing slash here. ‘/’ is fine if the site is in root.
$bb->path = ‘/’; // Example: ‘/forums/’
// What are you going to call me?
$bb->name = ‘New bbPress Site’;
// This must be set before running the install script.
$bb->admin_email = ‘[email protected]’;
// Set to true if you want pretty permalinks.
$bb->mod_rewrite = false;
// The number of topics that show on each page.
$bb->page_topics = 30;
// A user can edit a post for this many minutes after submitting.
$bb->edit_lock = 60;
// Your timezone offset. Example: -7 for Pacific Daylight Time.
$bb->gmt_offset = 0;
// Your Akismet Key. You do not need a key to run bbPress, but if you want to take advantage
// of Akismet’s powerful spam blocking, you’ll need one. You can get an Akismet key at
// http://wordpress.com/api-keys/
$bb->akismet_key = false;
// The rest is only useful if you are integrating bbPress with WordPress.
// If you’re not, just leave the rest as it is.
$bb->wp_table_prefix = false; // ‘wp_’; // WordPress table prefix.
$bb->wp_home = false; // WordPress – Options->General: Blog address (URL) // No trailing slash
$bb->wp_siteurl = false; // WordPress – Options->General: WordPress address (URL) // No trailing slash
// Use the following line *only* if you will be loading WordPress everytime you load bbPress.
//define(‘WP_BB’, true);
/* Stop editing */
define(‘BBPATH’, dirname(__FILE__) . ‘/’ );
require_once( BBPATH . ‘bb-settings.php’ );
?>
[/php]
As you would with any database backed scripted, you’ll need to fill in the database name, mysql username, password, and host, which is almost always “localhost” and can be untouched. If you’re integrating with wordpress, simply input the WP database information into this area.
Next you’ll need to move to lines 12-17 and set the domain name and then the location of the bbpress directory. Following the instructions in the config file itself will guide you through setting the rest of the variables. When you get down to lines 43 and 44, you’ll notice a note saying that the rest is only useful when integrating with the WordPress database.
If you are integrating with WordPress like I happen to be during this test install, we’ll need to edit the final three config variables dealing with wordpress. The first is setting the wordpress table prefix, which unless you changed it, it will be ‘wp_’. Delete the “false” and replace it with the table prefix name. It will look something like this:
[mysql]$bb->wp_table_prefix = ‘wp_’; // ‘wp_’; // WordPress table prefix.[/mysql]
Next you’ll have to set the blog url and site url, both pulled from the wordpress admin panel under “Options>General”. Almost every time the wordpress url and blog url will be the exact same. In this case it was “http://astereostudio.com/on”, so after setting this in the config lines 47-48 looked like this:
[mysql]$bb->wp_home = ‘www.astereostudio.com/on’; // WordPress – Options->General: Blog address (URL) // No trailing slash
$bb->wp_siteurl = ‘www.astereostudio.com/on’; // WordPress – Options->General: WordPress address (URL) // No trailing slash[/mysql]
When you’ve setup all the neccessary variables, save the file as config.php and upload it to the root of your bbpress install, or if you we’re using a live remote copy, simple save it and rename it to config.php.
Note: If integrating with wordpress, there is a WordPress plugin and BBpress plugin to fix some of the early version problems of bbpress and wordpress user database sharing.
Running the Installer
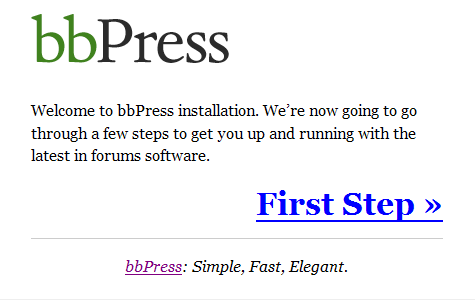
Head over to the location of your bbpress install in a web browser. Ours happened to be http://www.astereostudio.com/on/forums/, which lead us to a nice message saying it didn’t look like we had installed bbpress yet. This then brought up to the installer, which looks pretty damn familiar to WordPress.

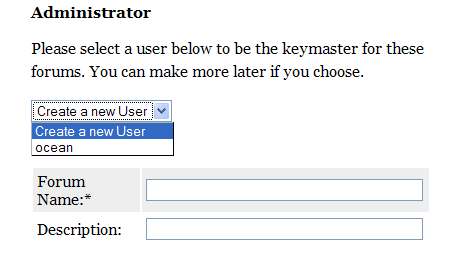
After hitting first step you’ll be brought to the forum setup screen, which will ask you to fill out the forum name and description. If you were integrating with wordpress, this screen will also become very important! If you did everything right, there should be a dropdown menu listing your wordpress admin account username. Selecting this means your integration was successful, and your forum admin login will be the same as wordpress.

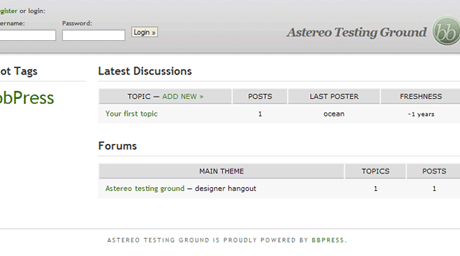
After hitting the “Continue to Step 2” button bbpress will run through and create its tables, and if everythings correct you will be then brought to the bbpress homepage.

On the next page we’ll dive right in and customize this baby!
