• Home
  • About
  • Contact
  • Advertise

Devlounge

Design, Develop, and Grow

ateşli sevgilisi fantezisini yaşamak istediğini söyler porno ona arkadaşları varken onunla gizli saklı seks yapmak istediğini sikiş söyleyen kız hafta sonu için gelen arkadaşının görmediği bir sikiş açıdan sakso çekmeye başlayınca adamın yarağını bu altyazılı porno şekilde indiremez ve açık şekilde salonda sikişimeye sex izle başladıklarında misafir kızı da bu sekslerine rokettube konuk ederler seks yapacağını düşünmeyerek onun sex izle oyun oynadığını zanneder sabah olur ve herkes uyanır hd porno bu sırada yanında şişme mankenini de getiren sapık erotik hikayeler genç sınav haftası ders çalışan genç adam üvey annesinin sikiş eve gelmesiyle hayatının şokunu yaşar

  • Home
  • Code
  • Design
  • Design Focus
  • Interviews
  • Publishing
  • Strategy
  • Webapps
  • Extras

Facebook Page Design and Tutorials

April 18, 2011 By Hyde

Since the introduction of the ‘Like’ button the use of Facebook pages by companies, brands, etc. has increased immensely. Facebook has a limit on amount of friends one can have and if you surpase that amount you need to to switch your account to a page. With pages you can add your personal design inside the Facebook frame. A websites within a website if you will.

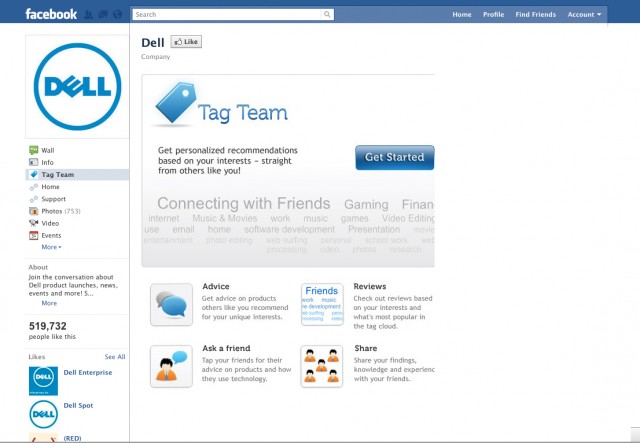
I listed a couple of brands, music stars and other companies who make good use of the Facebook page. My favorite one of the list is Dell. Nice design and pretty interactive. These pages can give you an idea what all is possible with Facebook Pages.

The next list contains a couple of tutorials to help you grasp how to adjust your Facebook page. I was taken aback how few tutorials there are out there considering how popular Facebook Pages are. Not only with big names but they are also used by schools, sport clubs, small bands, etc.

I selected the most recent one, although there aren’t any updated ones since Facebook changed their pages layout. Hopefully though these tutorials will help you along.

Facebook Fan Page Design Inspirations

Cranium
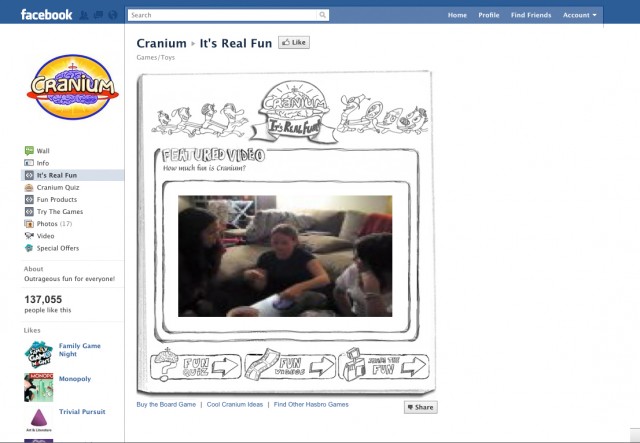
Facebook Pages Design

Starbucks

Facebook Pages Design

Lenny Kravitz

Facebook Pages Design

Dell

Facebook Pages Design

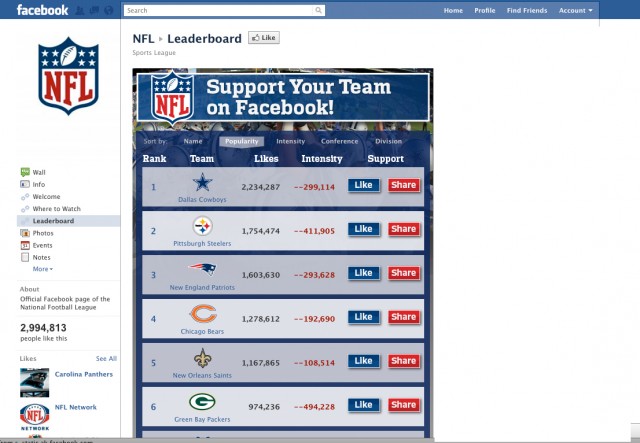
NFL

Facebook Pages Design

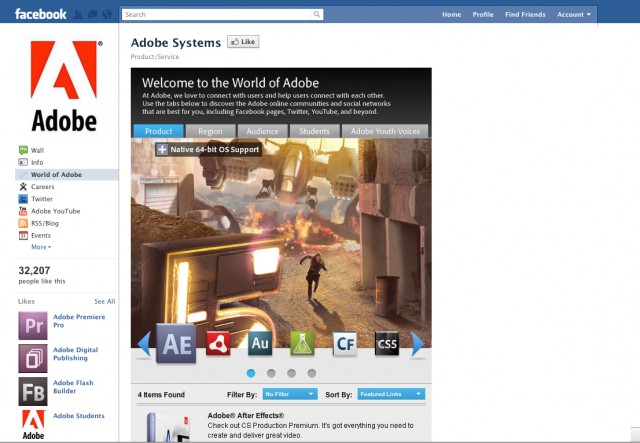
Adobe

Facebook Pages Design

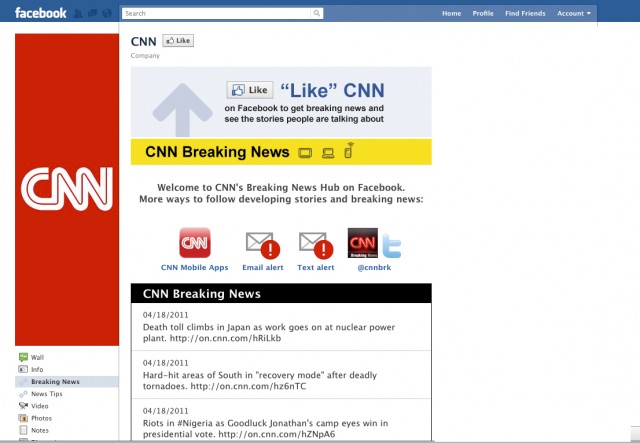
CNN

Facebook Pages Design

KLM

Facebook Pages Design

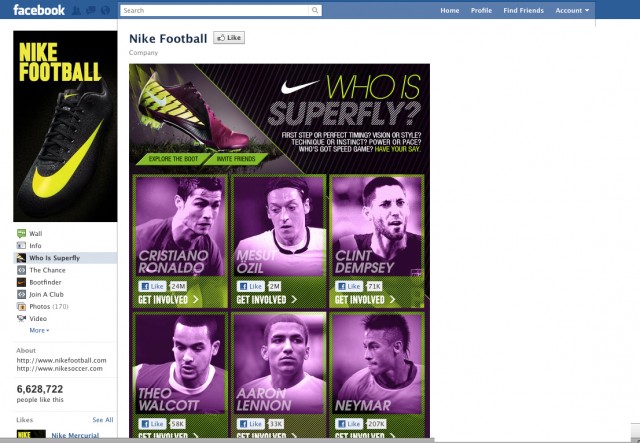
Nike Football

Facebook Pages Design

Facebook Fan Page Creation Tutorials

A Facebook Fan Page Tutorial

Video tutorials

Facebook fanpage static fbml code and tutorial

FBML code example

Facebook Fan Page Photos Tutorial

Also shows how to take full profit of Facebook’s new way to display profile photos.

How to Create Custom Facebook Pages

A ten step tutorial with text and videos.


Video Tutorial on New Facebook Fan Page Layout

Learn what’s new in the Facebook fan page layout. A video and a text summary of the highlights.

Business Card Tutorials and Templates

March 17, 2011 By Hyde

This week a selection of business card tutorials and templates. The days that we only had a phone number to give are long gone. With Twitter, Facebook, weblogs, emails and the old fashioned phone number, everyone should carry a business card.

Actually you should carry more than one, one for professional purposes and one for social purposes. I don’t think most people want to give out their personal accounts to business related contacts and vise versa. I currently have two versions, one for my business and an old one with my Flickr, weblog and email address on it.

While compiling this post I got inspired to create a neat and simple one for personal use. My go to printer is MOO. I don’t need many cards and their quality is good enough for me. They offer templates and everything, but you can upload your own design. It can be a bit tricky, but here the tutorials and explanations on bleeds come in handy.

Fire up Photoshop and try to create a personal card for social purposes!

A Cool Photoshop Business Card Tutorial for Print Ready Cards

Business Card Tutorial

An extensive tutorial that goes into detail on printing issues such as, dpi, bleeding area and the safe zone area. This may possible save you money from getting bad prints.

350dpi Business Card Template

Business Card Tutorial

A 10 layer template for business cards (standard American 3.5″ x 2″) with page, bleed, and margin masks.

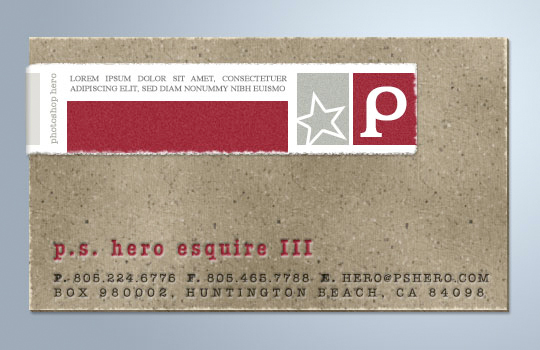
Cardboard And Torn Paper Business Card

Business Card Tutorial

Advanced Photoshop tutorial using cardboard and torn edge effect.

PSD Tutorial: Design a Dirty Business card

Business Card Tutorial

Design a Print Ready Business Card for Designers

Business Card Tutorial

Follow this walk through in Adobe Photoshop, Adobe Illustrator and Adobe InDesign to create your own double sided business card design, resulting in a print-ready file to send to your favored print firm.

Designing a Professional Business Card in Photoshop

Business Card Tutorial

Making a Grungy Business Card

Business Card Tutorial

How To Create Old Grudge Style Print Ready Business Card

Business Card Tutorial

Basic Grunge Business Card Design

Business Card Tutorial

How To Create A Sweet Bokeh Business Card In Photoshop

Business Card Tutorial

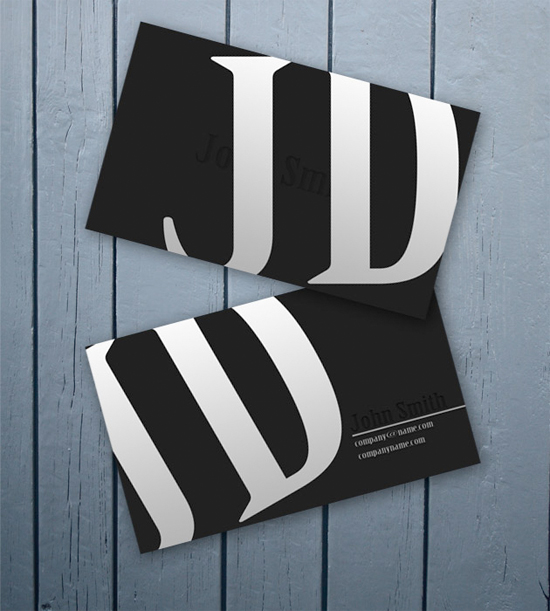
Creating a Dark Business Card

Business Card Tutorial

Creating a Photo Gallery Using jQuery and the MT Asset Manager

July 7, 2008 By Billy Mabray

Movable Type Asset Manager

One of the big new features that came in Movable Type 4 was the Asset Manager — a central location for maintaining the files you upload to your blog. Asset Manager gives you an admin for uploading, tagging, labeling, and deleting your files. It also comes with a rich set of template tags for publishing your assets. Combined with a bit of JavaScript, the Asset Manager can easily produce a beautiful photo gallery.

There’s any number of JS or Flash photo galleries you can use. For this example, I’ve chosen Galleria, a jQuery-based photo gallery. It degrades well in the absence of JavaScript or CSS, allows linking to individual files, and looks beautiful out of the box.

To get started, download Galleria (it includes jQuery) and upload the CSS file, the jquery.min.js file and the jquery.galleria.js file to your server. Create a new index template, name it whatever you want, and populate it with this template code. You’ll likely have to modify the CSS <link> and the <script> tags to point to where you uploaded your files, and of course change the titles and text to whatever you want.

This template is based on the example that comes with Galleria. If you’re comfortable with JS and want to customize the look and behavior of your gallery, I recommend you read the Galleria options documentation, then take a look at the JS code in the template. There’s almost no end to the ways you could modify the transitions, thumbnail appearance, and other details.

Towards the end of this template is where the Asset Manager does it’s work. Let’s look at those lines:

[html]

    class=”active”>
    ”
    title=”” />

« previous | next »

[/html]

The classes and ids we use here are for the benefit of Galleria. You can change those, as long as you also change them in the script code earlier in the template. The code is pretty simple: create an unordered list, then loop through our assets:

[html][/html]

This is where we start our assets loop. We’re saying we want up to the last 20 assets of type “image” that have the “historical” tag. Of course, you’ll want to change that to whatever tag you’ve used for your photos. Or you can leave it off to get all images in your asset manager. Other assets attributes allow us to filter based on author or file extension, or sort by various settings.

Each iteration of the loop creates a list item:

[html] class=”active”>[/html]

Here, we’re using a loop meta variable — __first__ — to add a class to the first list item we output. That will make the photo show up as the main photo when someone first visits the page.

Then we output our <img> tag:

[html]” title=”” />[/html]

And that’s it. Put in an output path for your template, then save and publish it. If the template is finding the CSS and JS files, you should get a gallery like this one.

As I mentioned before, you can use MT’s Asset Manager with any number of existing photo galleries, or you could create your own from scratch. There are many asset-related template tags that give you access to all your files’ data. MT can also generate thumbnails on the fly and cache them for future use.

Have you created your own photo gallery with the MT Asset Manager? Tell us about it in the comments.

Optimal Includes for Movable Type

June 17, 2008 By Billy Mabray

As far back as I can remember, Movable Type has always had the ability to include one template (or a file) in another template. You do it like this:

<mt:include module="footer">

But, there are problems with this method. First, it can slow down publishing, as the MT engine traverses all the included templates in each page it publishes. And if you’re publishing static files but including something that should be kept up-to-date (like your Action Stream), then you can end up with pages that look stale.

What I like to do is output the fragment I want to include to a text file, then pull that text file into whatever page on my site I want. But different pages publish differently, so it’s sometimes tricky to include the same file on all those pages. I handle this with a little snippet of MT template code. Let’s start by taking a look at that code:

<MTIf name="is_php">
    <?php include($_SERVER['DOCUMENT_ROOT'] . '/actionstream.inc'); ?>
<MTElse>
    <MTIf name="system_template">
        <MTInclude file="/actionstream.inc">
    <MTElse>
        <!--#include virtual="/actionstream.inc" -->
    </MTIf>
</MTIf>

Our first line checks a is_php variable. We have to set that ourselves on any page we output as PHP — a contact form, for example. So let’s assume we have a Contact template that publishes to contact.php. At the top of that template we would add this:

<mt:setvar name="is_php" value="1">

When this variable is set, our code will use a standard PHP include to pull in the file:

<?php include($_SERVER['DOCUMENT_ROOT'] . '/actionstream.inc'); ?>

If it’s not a PHP page, we then check the system_template variable. This is already set in all the default system templates, so we don’t have to set it ourselves. System templates are served via CGI — they’re not published to static files, they’re displayed dynamically. Search results and comment previews use system templates. In this case, the standard MT include is the best option:

<MTInclude file="/actionstream.inc">

Notice we’re using the file attribute rather than the module attribute. This tells MT to look for a file on your web server.

Finally, if neither of the first two conditions apply, we use a Server Side Include (SSI):

<!--#include virtual="/actionstream.inc" -->

You will have to configure your server for SSI, but if you were able to install MT, you should be able to set up SSI.

Now that we know how to do our includes, let’s create something we can reuse whenever we need to do a file include. Create a new Template Module, name it Include, and put in the following modified version of our code above:

<MTIf name="is_php">
    <?php include($_SERVER['DOCUMENT_ROOT'] . '<mt:var name="includefile">'); ?>
<MTElse>
    <MTIf name="system_template">
        <MTInclude file="$includefile">
    <MTElse>
        <!--#include virtual="<mt:var name="includefile">" -->
    </MTIf>
</MTIf>

Now, anywhere we need to do a file include, we just put two lines of code:

<mt:setvar name="includefile" value="/actionstream.inc">
<mt:include module="Include">

The <mt:include> has access to any variables set before it’s called, so we can set includefile to the file we want to include, then call our Include module.

You’ve probably seen the <mt:var> tags before, but this might be new to you:

<MTInclude file="$includefile">

Here, we’re using an MT variable as the value for a tag attribute. This can be done on any MT tag, just append a dollar sign to the beginning of the variable name.

Again, this is really useful for things that don’t need to be part of the MT publishing process. In particular, any time you’re using an external API (Twitter, Flickr, etc.) to put content into your sidebar. In those cases, it’s more efficient to set up an external process to write that content to a file, then pull it in with our optimal include. As your site grows, you’ll be grateful for any time you can save on the publishing process.

Getting Gravatars on your Single Posts in WordPress

June 12, 2008 By Thord Daniel Hedengren

Gravatars are global recognizable avatars, being avatars hosted at Gravatar.com, a service run by Automattic, creators of WordPress and WordPress.com, these days. Since version 2.5 of WordPress there’s built in support for Gravatars, using a template tag to display the appropriate avatar, or a placeholder. The default WordPress theme, being Kubrick renamed as default, uses it in comments, which is the common usage of gravatars.

However, with the recent redesign of Devlounge, I decided to use gravatars rather than theme-bound avatars for displaying the author’s pretty face. You can’t just pull the gravatar code from comments.php to do that, you need to work a bit with the template tag.

First, to display a gravatar you need to register an e-mail with the Gravatar.com service. There, you connect an avatar with the e-mail address. The key is the e-mail address, that’s important to remember.

Displaying the Gravatar

The code used here on Devlounge, for the avatar on the top of the single post pages, is the following:

[php][/php]

So what does it mean? The get_avatar() is the WordPress call the Gravatar functionality. As you can see, I’m using the template tag get_the_author_id() to fetch the singe post’s author ID, which will tell get_avatar() what e-mail to use to look for. I could use other template tags to fetch the correct e-mail, but I went with the ID one.

40 is the width and height of the avatar in pixels. 16, 32, 48 or 64 are more common uses, but 40 pixels fits the design for me.

If you wanted to, you could add a path to the default avatar URL, so that not the default one from Gravatar.com is displayed for people not having registered an avatar. In this case, I’m going with the default one because people are used to it, and when they see that a gravatar can be used, they might be more inclined to get one.

For comparison, in the comments the gravatar code looks like this:

[php][/php]

Here $comment calls the comment in question’s author e-mail is used to fetch the appropriate avatar, and that one will be 32×32 pixels in size. As above, I could have added a path to a default avatar.

Next Page »

Code & Tutorials

Which Front-End Development Languages Will Grow in 2017?

Your Guide to Leveraging APIs as a Developer

Bitcoin Processing Website Integration For Web Developers

Website Security For 2016 That All Developers Need To Know

5 Reasons You Need to Be Using jQuery

About Devlounge

Want to read more about Devlounge, or maybe you want to contact us, or even advertise? Oh, and don't forget to subscribe to updates!

The Best of Devlounge

The Marks of a Minimalist Blog

Search